Fall Leaf Project
We created clay leaves after our leaf hunt.
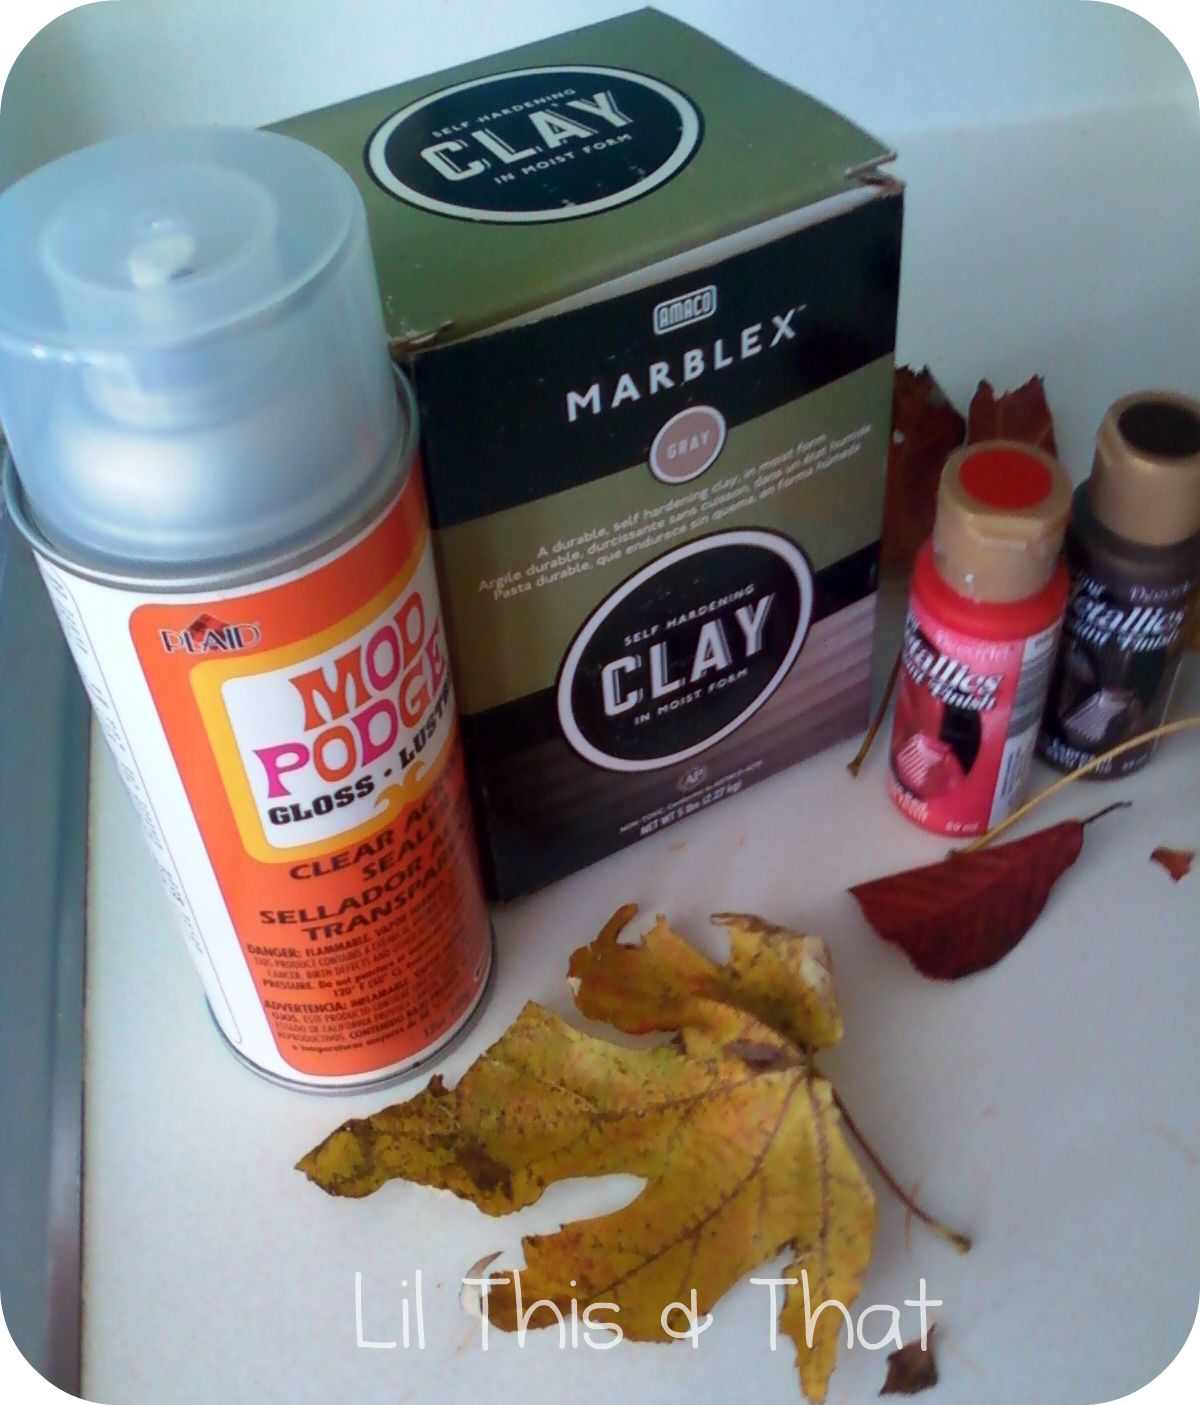
If you would like to make your own leaves, below are the materials you will need.
Take a nice amount of clay to create a ball about the size of a baseball. We flattened our ball by throwing onto the table a few times or you could use a rolling pin. The kids enjoyed the throwing. Once the ball is about an inch or so thick, place your favorite leaf on top. You will use a rolling pin to press the leaf onto the clay. Be gentle or the leaf will tear. After imprinting the leaf onto the clay, remove the leaf from the clay.


We used a self-hardening clay, therefore, we had to wait until the clay was dry to complete. We waited a few days. Once the clay has dried, the leaves are ready to paint.


I usually only purchase acrylic paint in the primary colors. I mix the colors as needed to get orange or any other color we may need. I also purchased a bronze and the red we used had a hint of metallic. After the paint dries, spray with Mod Podge to seal.
Happy November!


